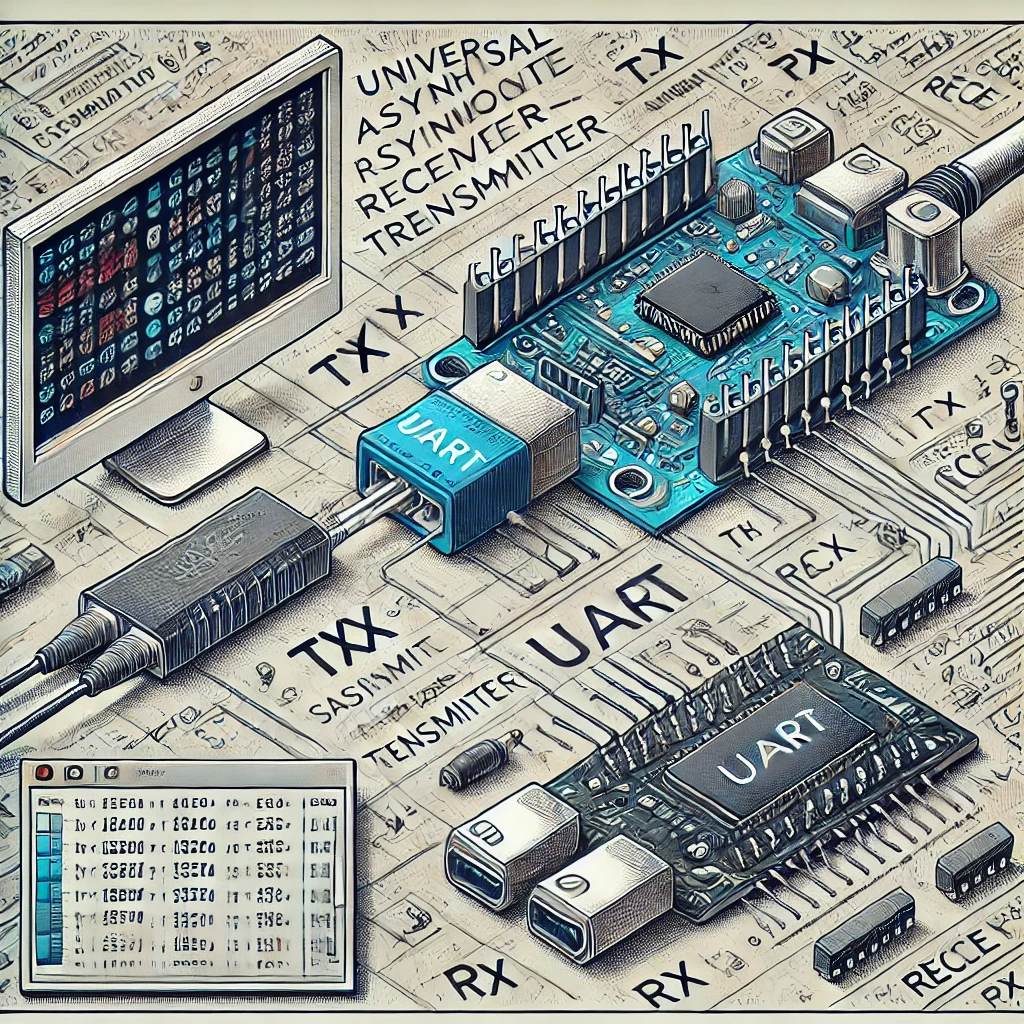
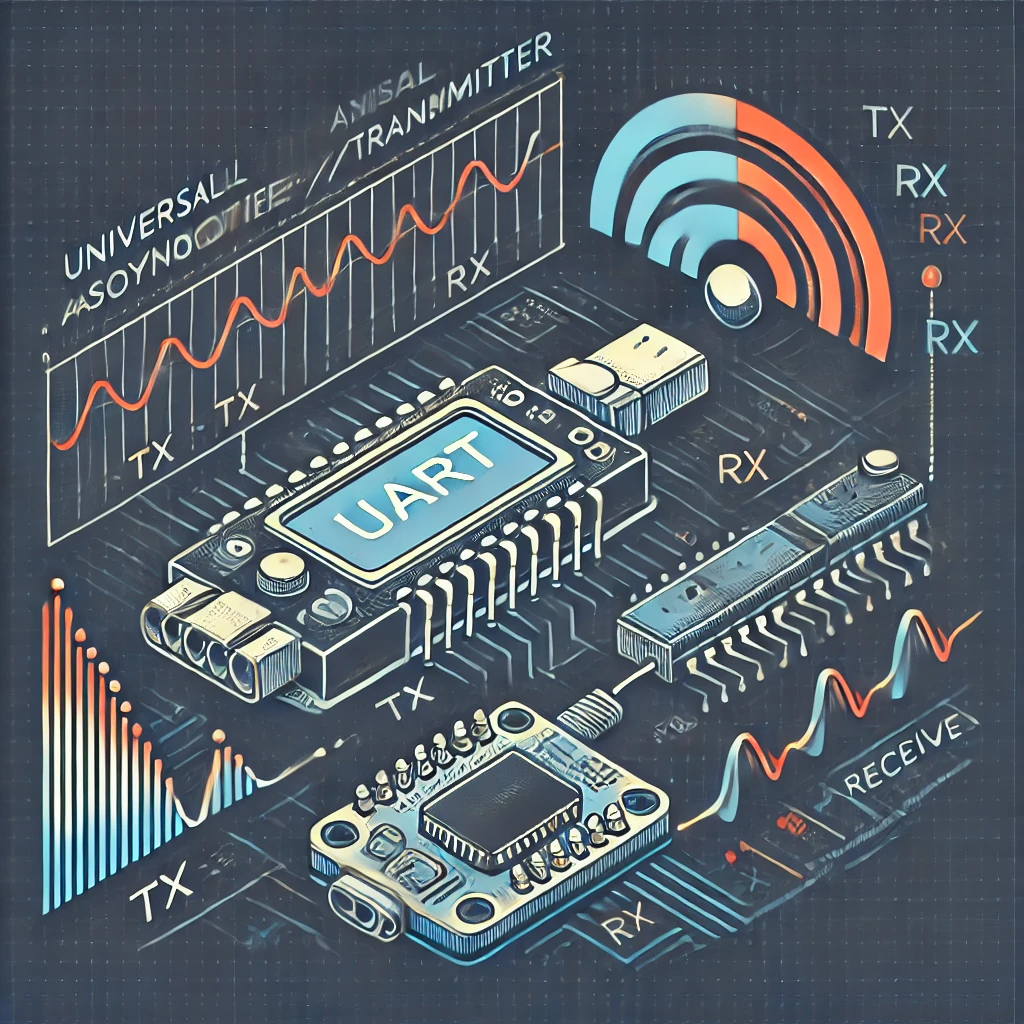
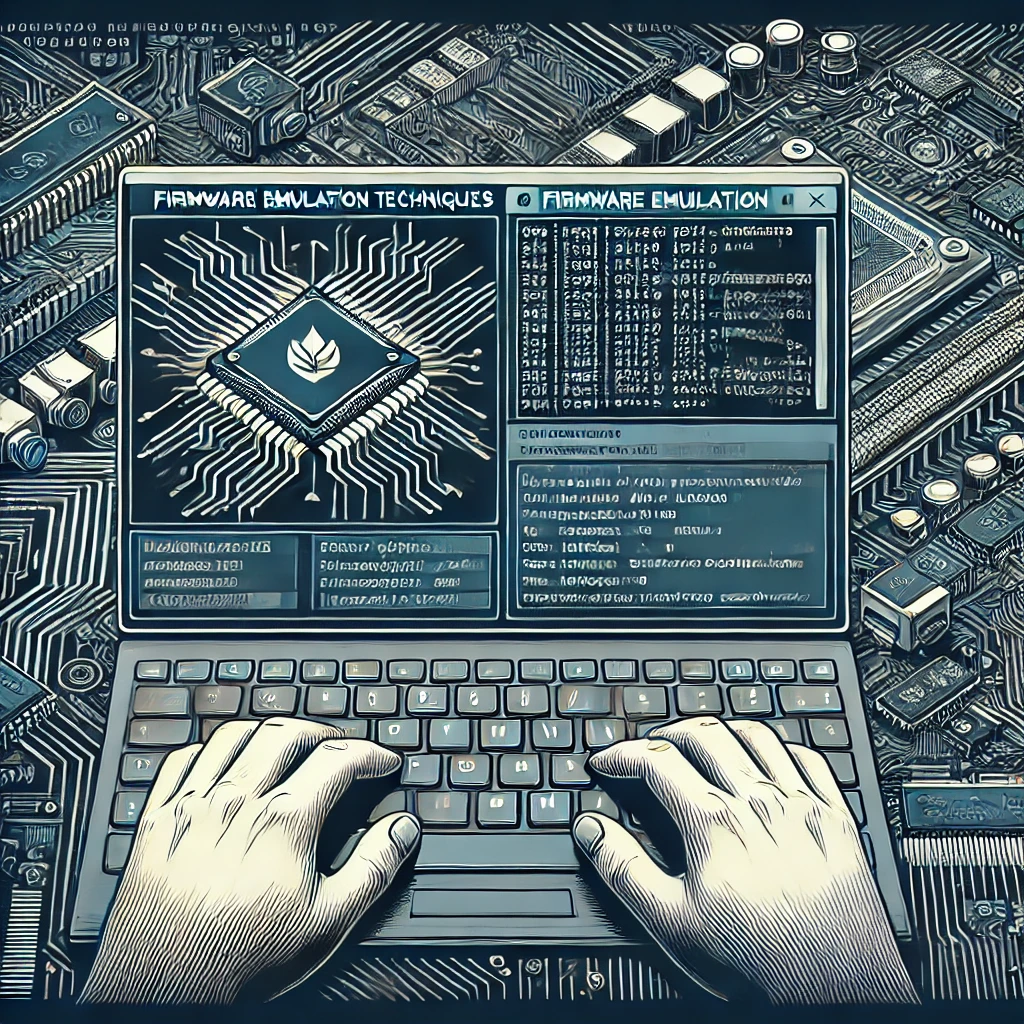
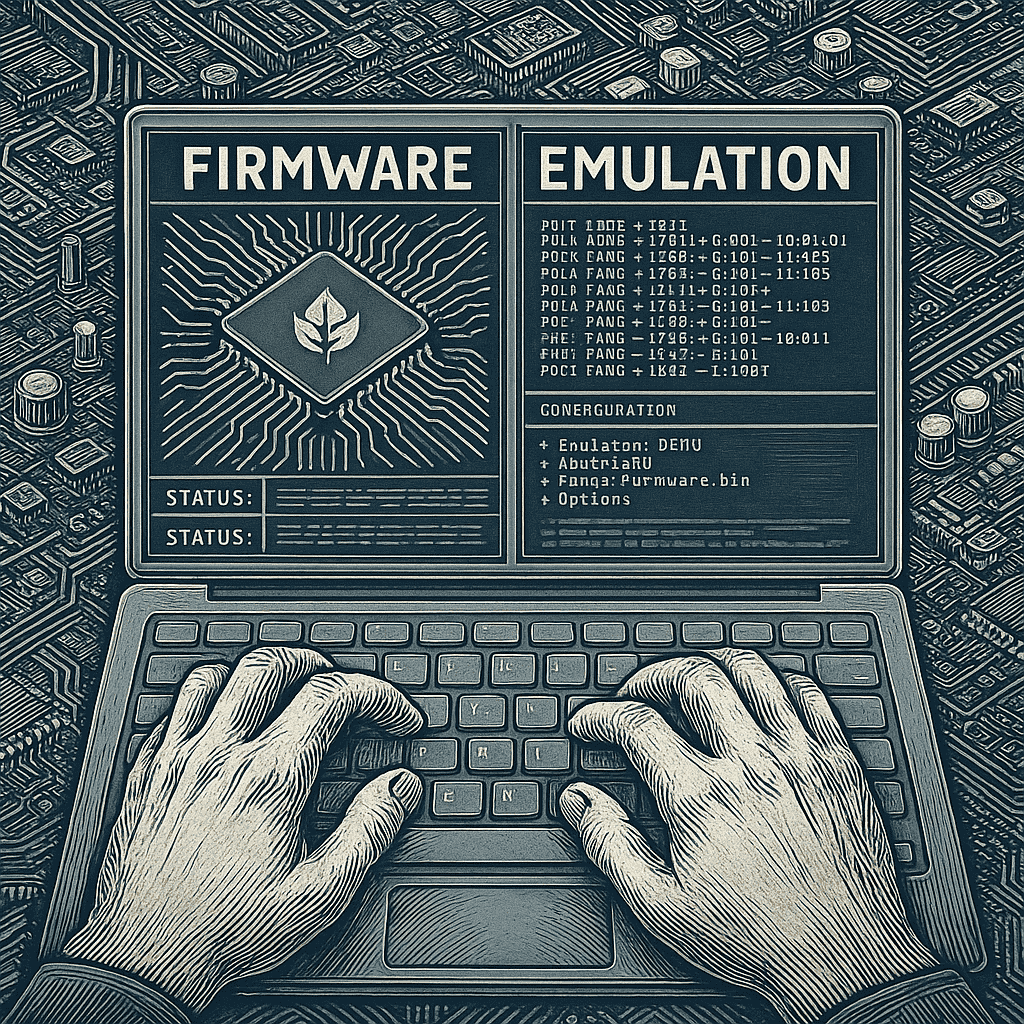
Firmware Emulation 102


Address:
601, park plaza business center, S No. 296/2, Porwal Rd, Lohegaon, Pune, Maharashtra 411047
Phone: 91 9152445255
Email: [email protected]
GET IN TOUCH:
©Copyright 2024 Unoacademy Labs LLP